

FITMANAGER
You use the Fitmanager app to register for our classes. To keep track of your own registrations, etc. The app has 5 menus that I explain and show below. The app opens directly in menu 1.
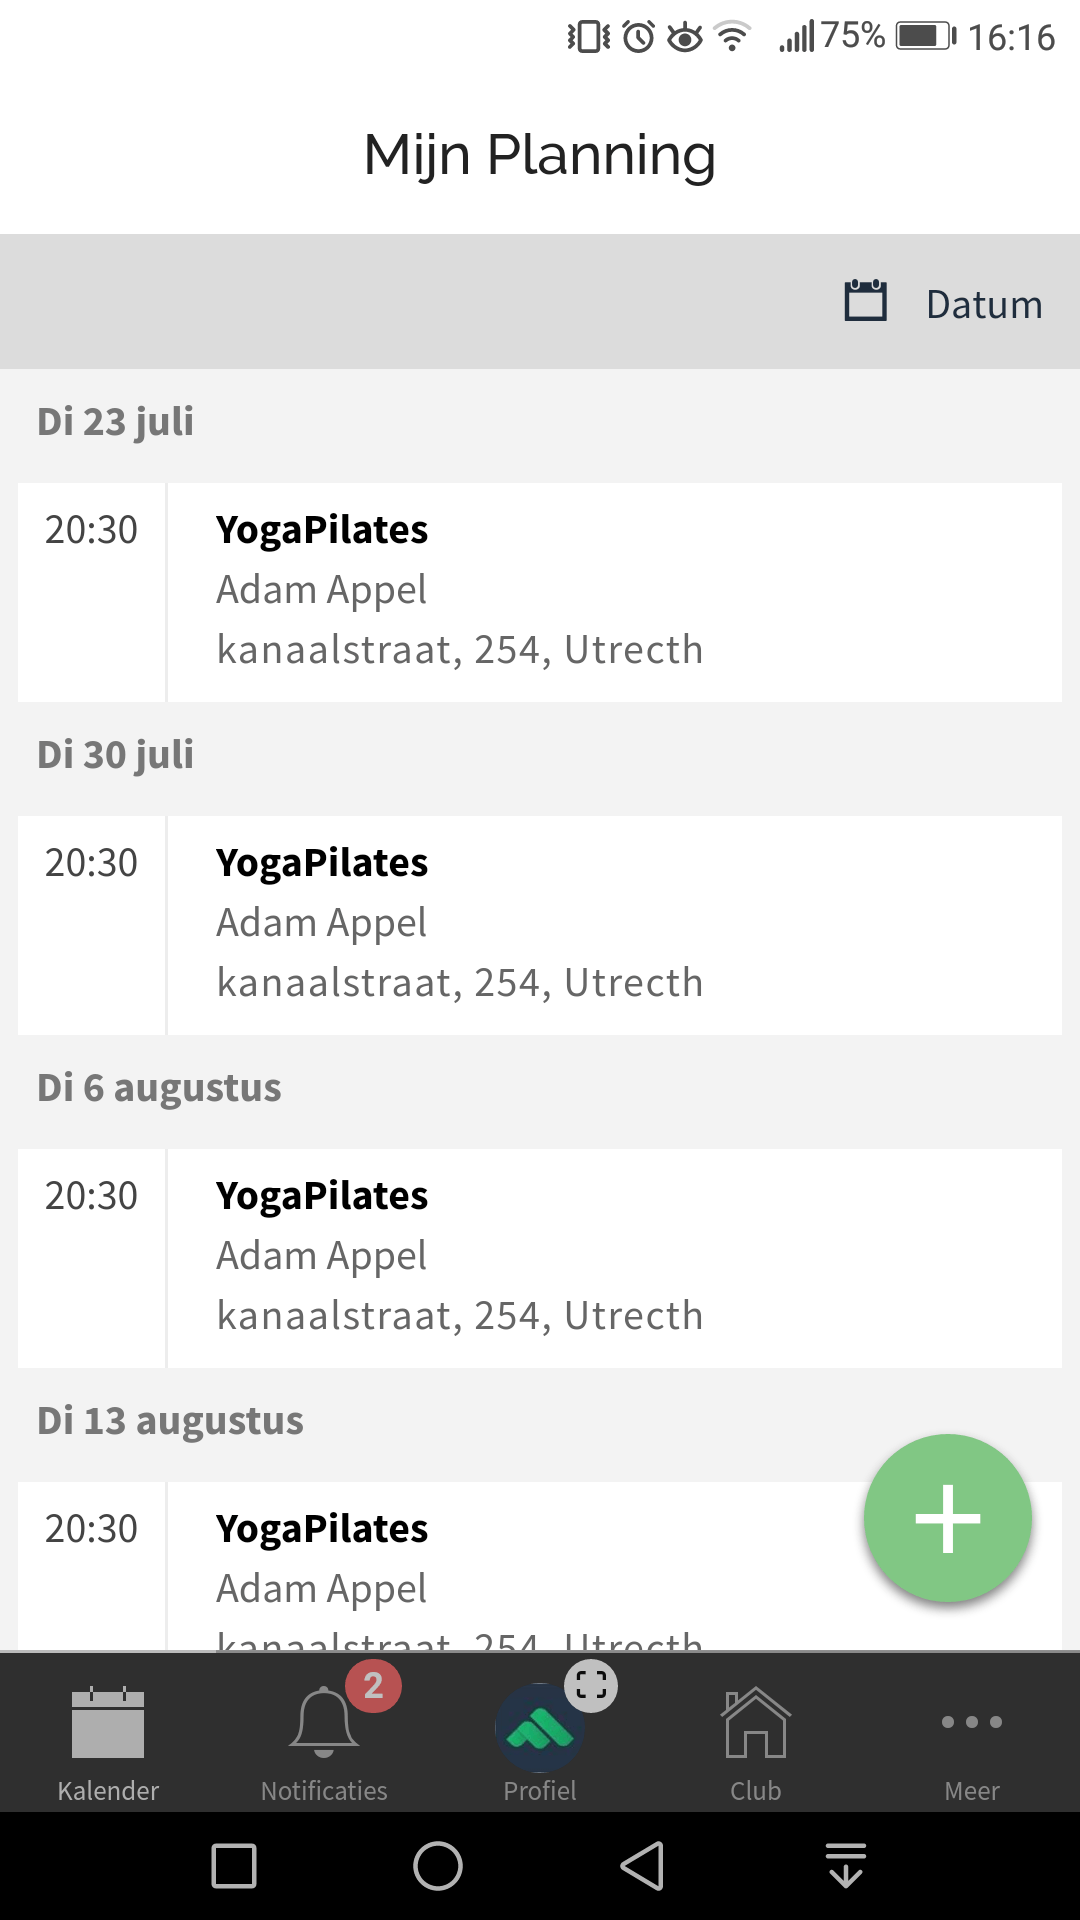
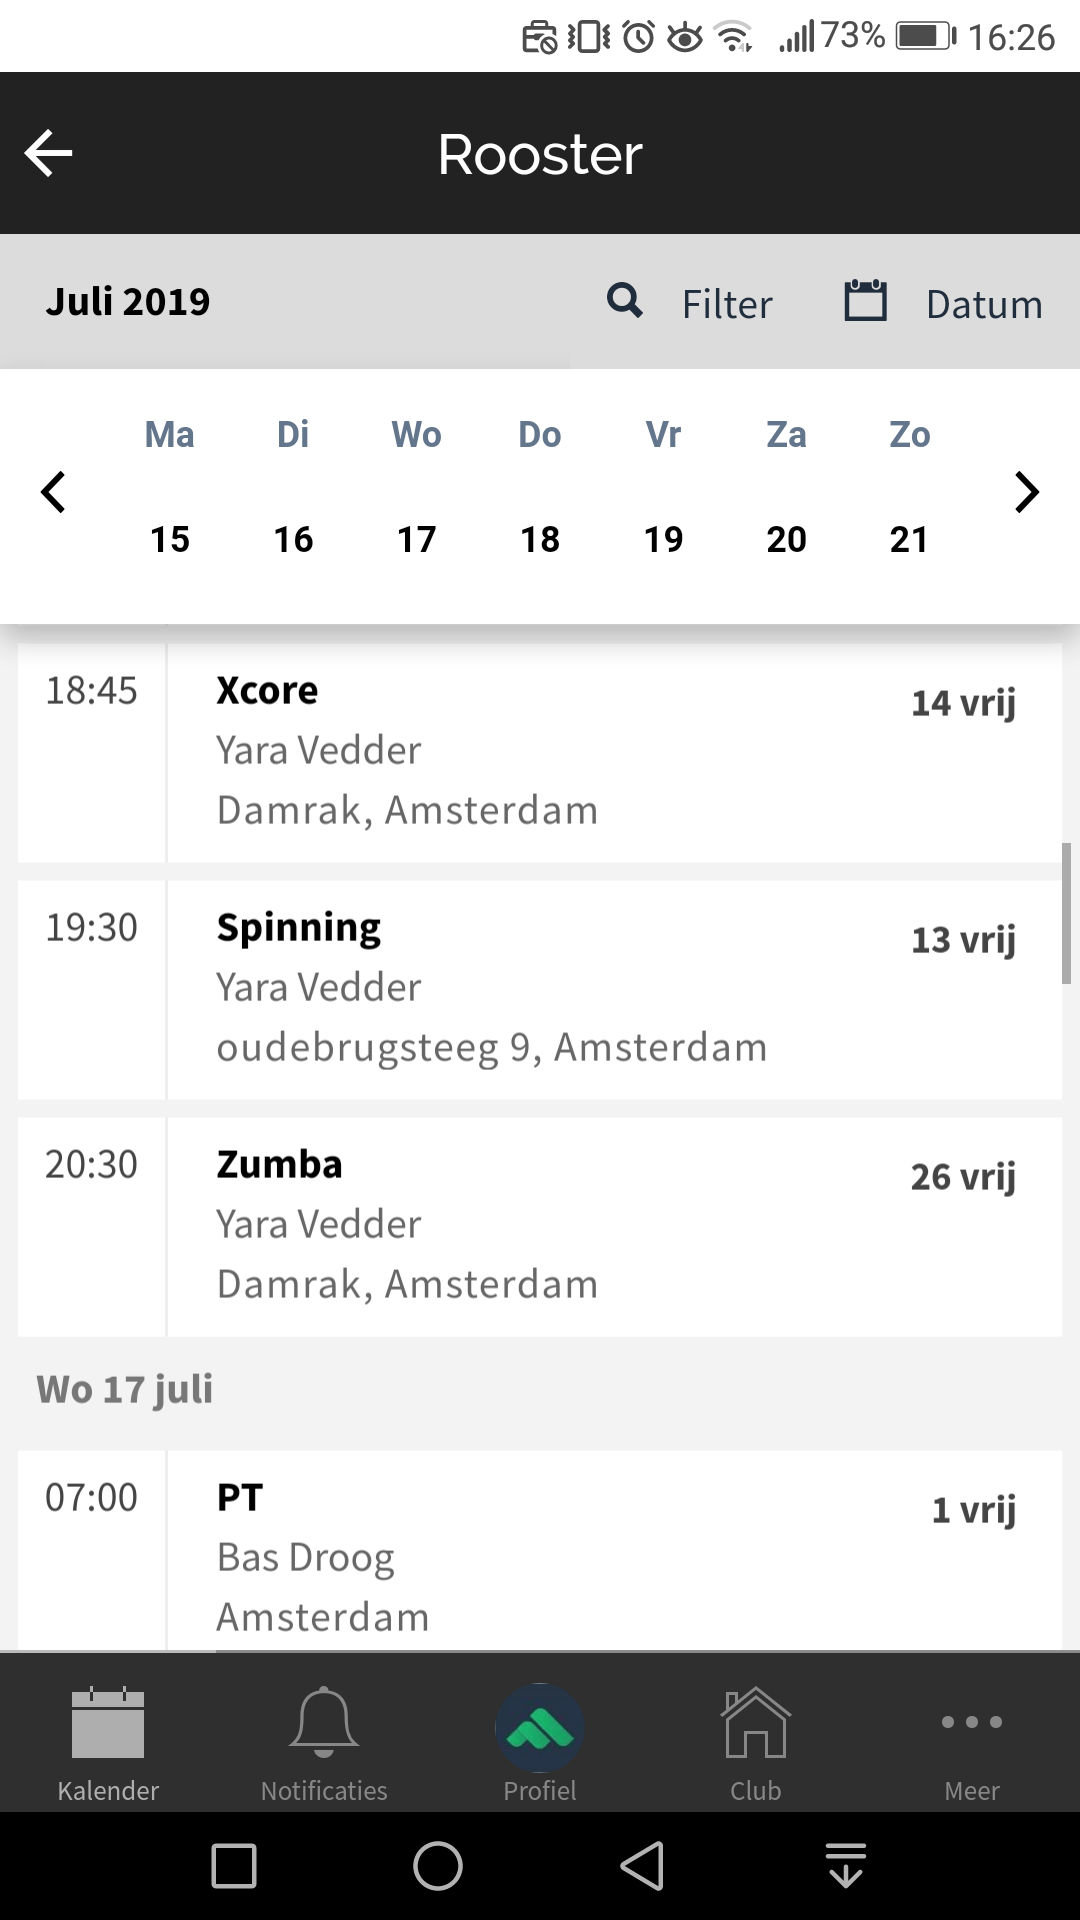
Menu 1: Calendar/Own planning: You can see your own planning here. So all activities for which you have registered as a participant. With the plus icon in the bottom right corner you can add an activity to your own schedule on the calendar. Click here and then scroll through the calendar to find the activity you want to participate in.
Image 1: My planning
Schedule, after clicking the green plus button.
Menu 2: Notifications. When your trainer sends a message, you can receive it in your app. You can also receive a push notification on your device. Enable to receive push notifications. When you log in for the first time, you will be asked if you want to receive notifications, then click Yes. If a training is canceled, you will receive a notification via the Fitmanager app and you will be informed. This can also be enabled in the more menu. This way you ensure that you always have the latest updates from your trainer.

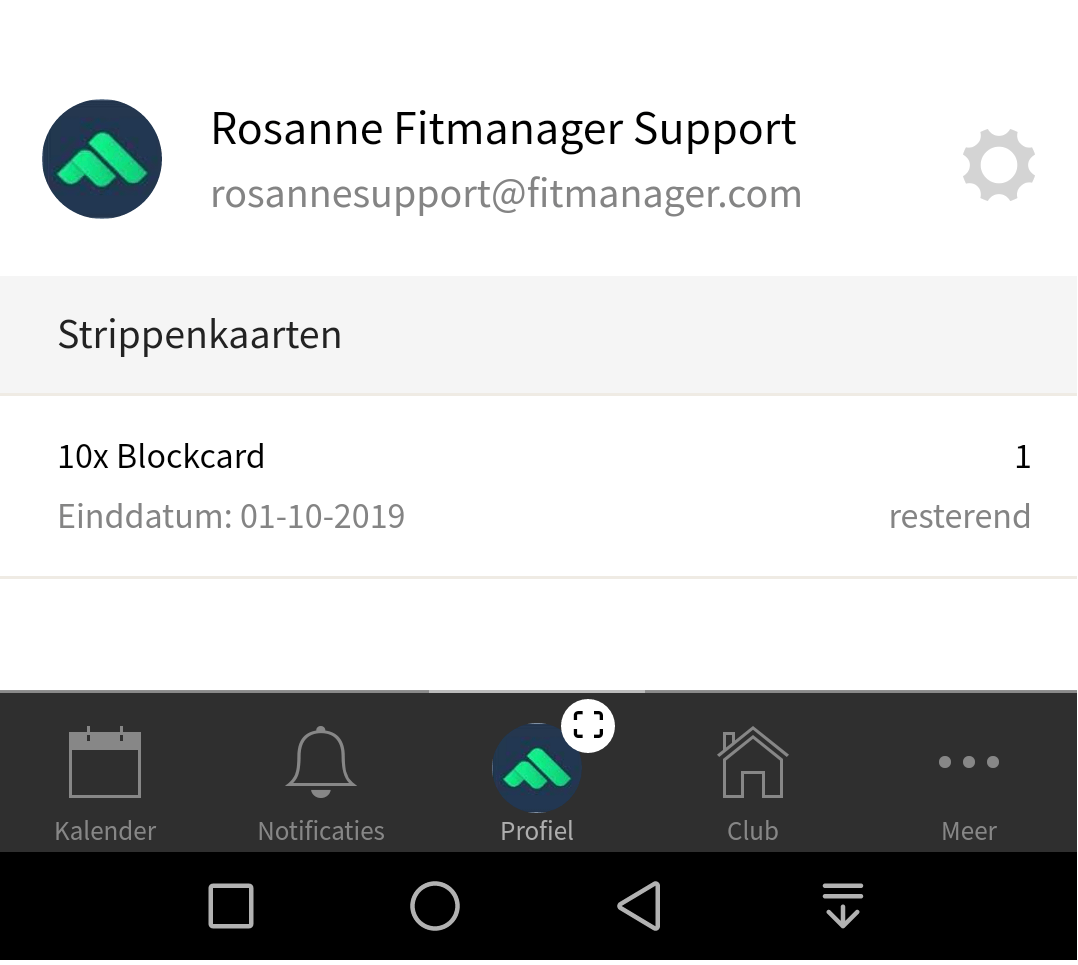
Menu 3: Profile Here you can see which subscription or strip card you have, how many strips are left of the card, and what the end date of your product is. You can also view and edit your own profile here with the wheel icon.
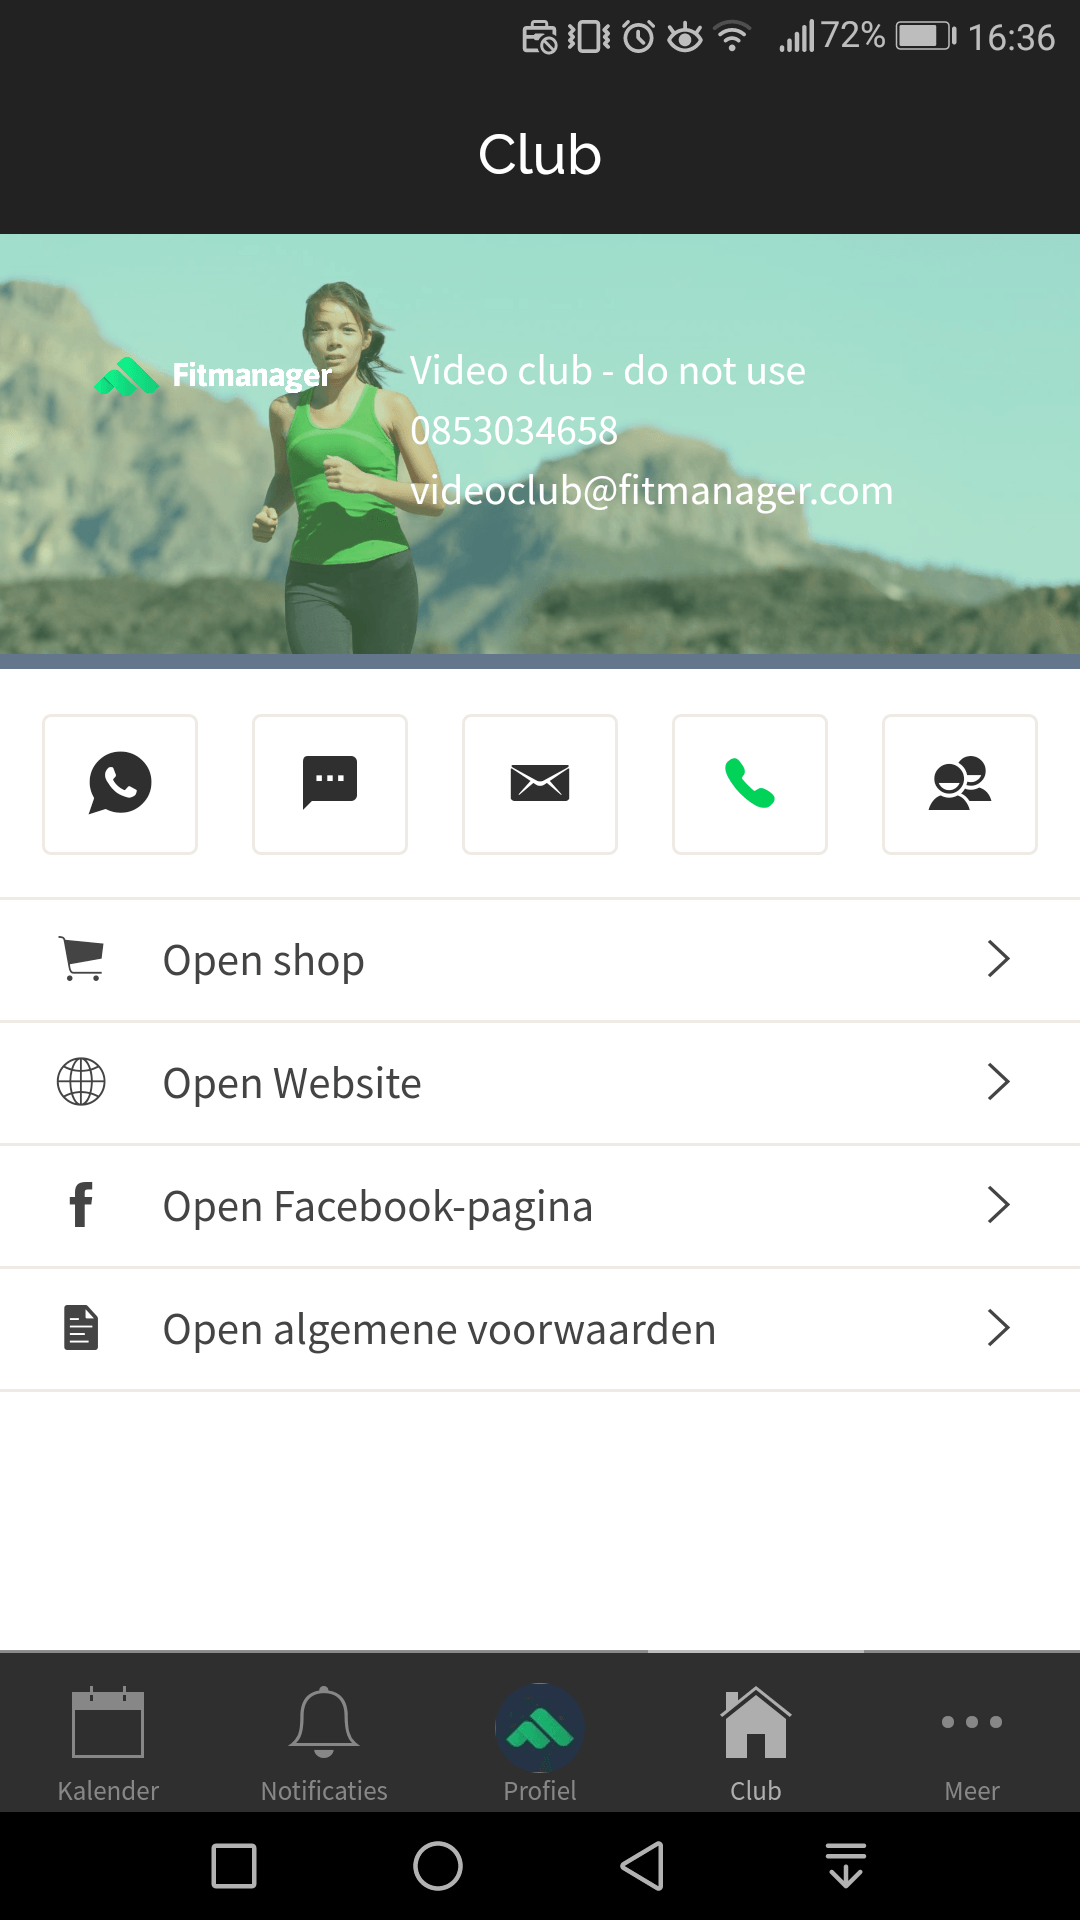
Menu 4: ClubHere your club details are displayed and you can open web pages from your account that are not in the app. If you want to buy a new product, use this menu and choose 'open shop'.
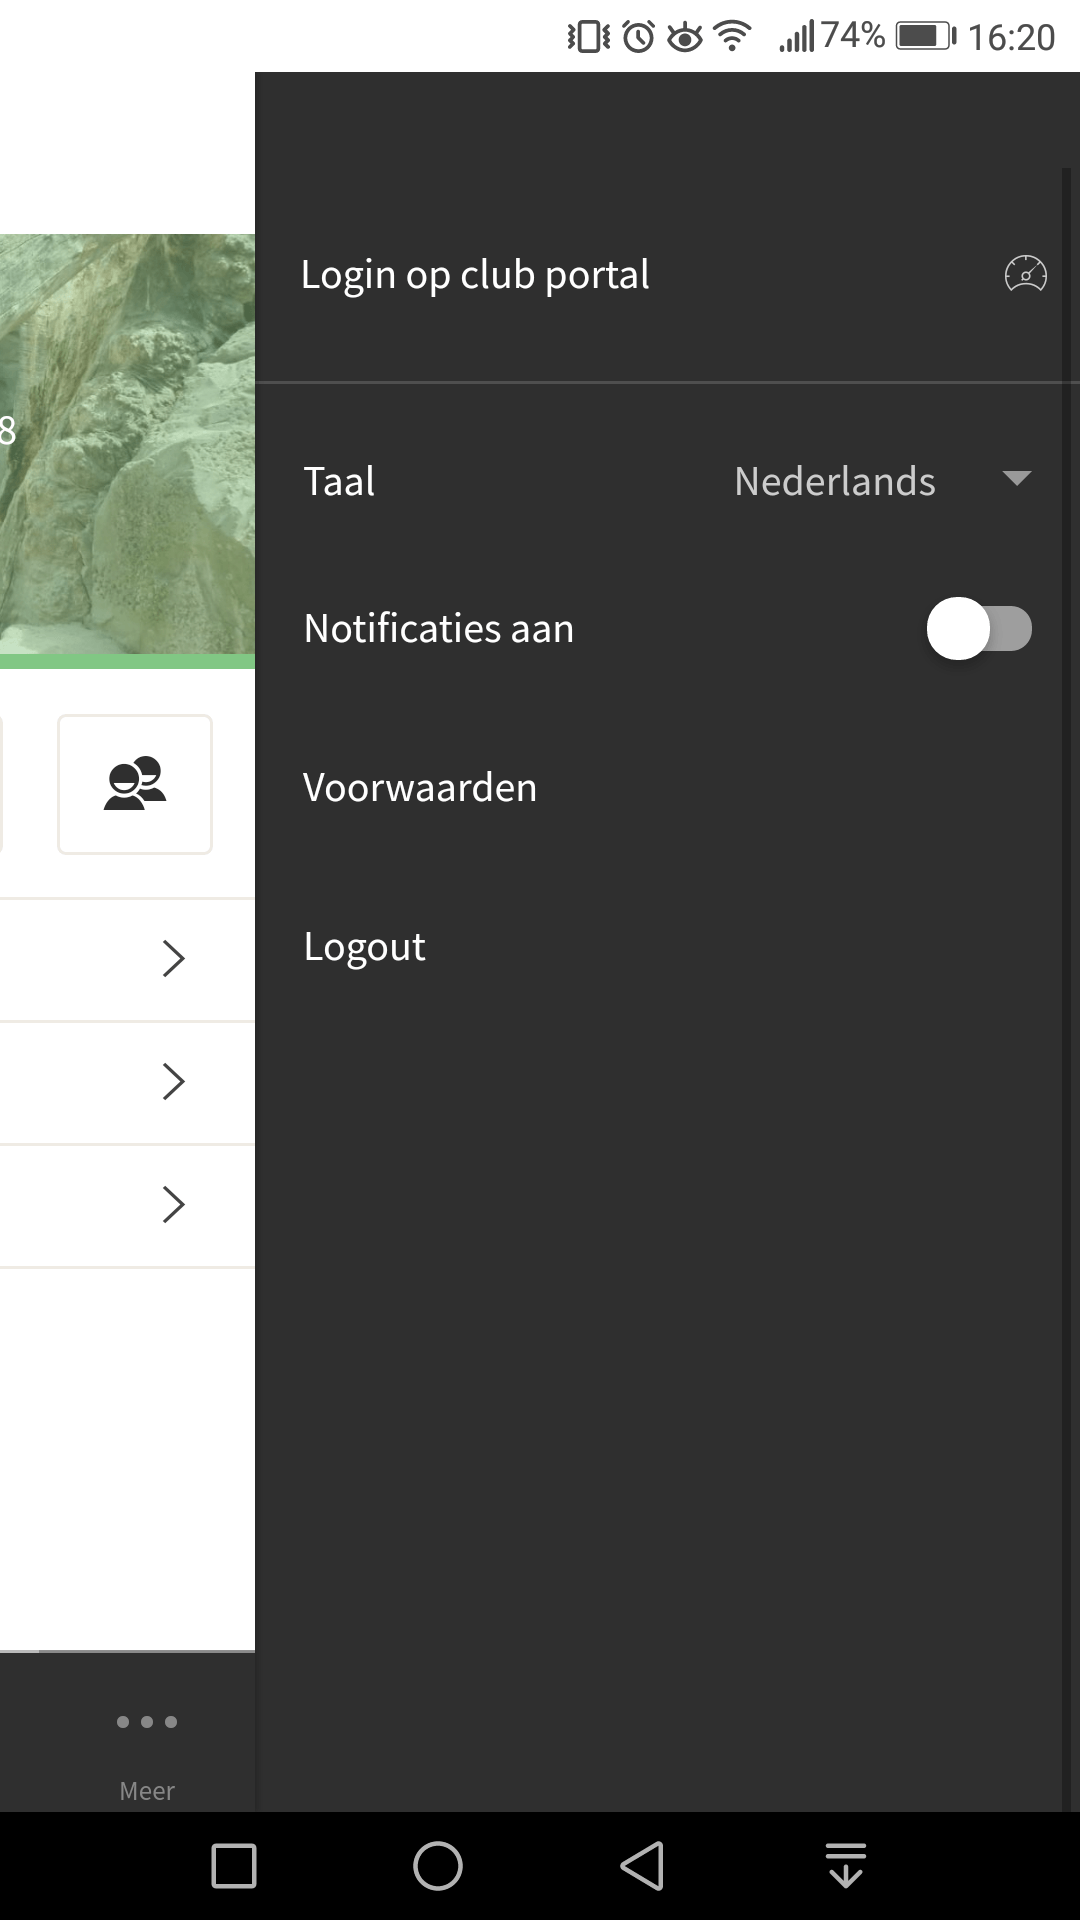
Menu 5: MoreThe more menu gives you the option to adjust a number of settings such as Language and Notifications. But you can also log in to the club portal on the web and read the conditions.